
What are the installation steps for rubber fenders?
The installation of rubber fenders is an important part of the construction of water facilities such as ports, docks, and ships, and its installation quality directly affects the service life and protective effect of fenders. The following are detailed installation steps for rubber fenders for reference:
Preparation work before installation
1. On site investigation and measurement
Before installation, it is necessary to conduct a detailed survey and measurement of the installation site. Confirm the installation position, length, height, and compatibility with the dock or vessel of the fender. At the same time, check whether the foundation structure of the installation area is firm, ensuring that it can withstand the weight and impact force of the fender.
2. Preparation of materials and tools
Prepare the required rubber fenders, fixing bolts, washers, nuts, and other accessories according to the design drawings and on-site requirements. At the same time, prepare installation tools such as drills, wrenches, level gauges, tape measures, lifting equipment, etc.
3. Fender inspection
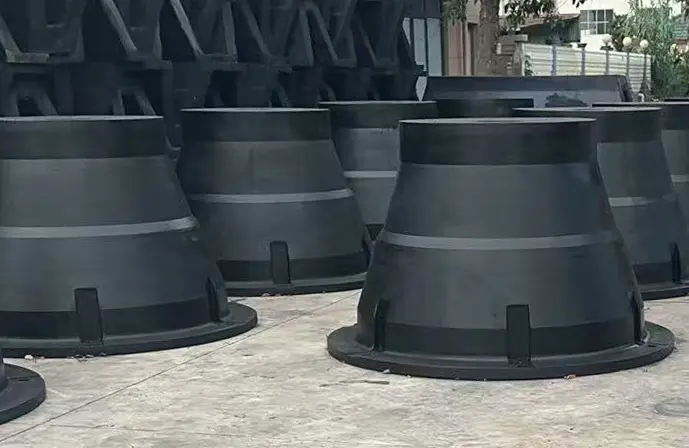
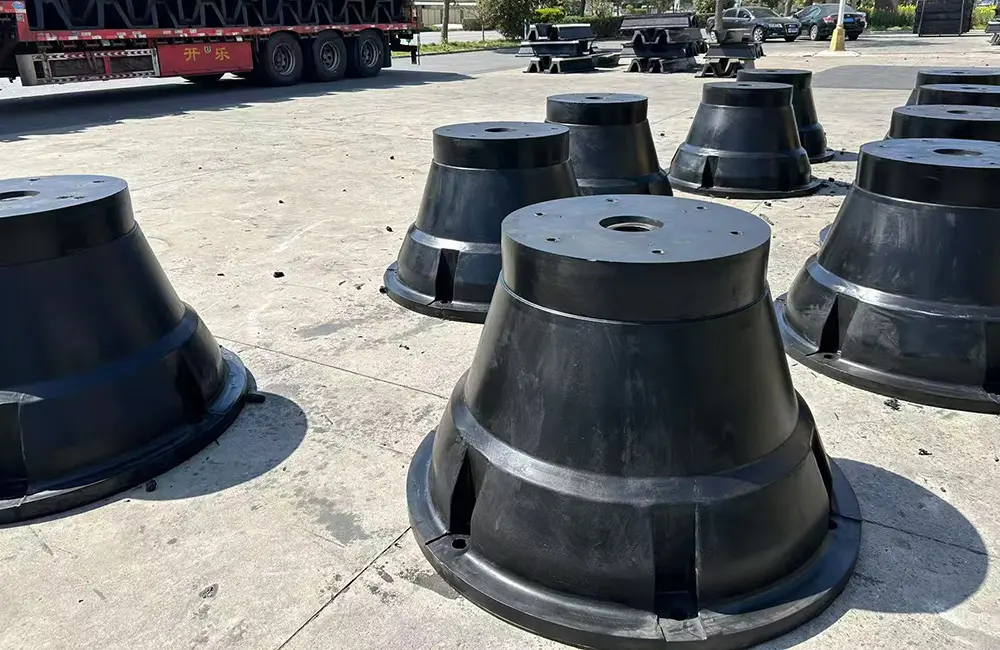
Before installation, conduct a comprehensive inspection of the rubber fender to ensure that its surface is free of defects such as cracks, bubbles, deformation, etc., and verify whether the specifications and models of the fender meet the design requirements.
4. Basic processing
If the foundation structure of the installation area is uneven or has defects, necessary treatment is required. For example, cleaning surface debris, repairing cracks, polishing uneven areas, etc., to ensure that the protective rail can tightly adhere to the installation surface.
Installation steps for fenders
1. Positioning and marking
According to the design drawings, locate and draw lines in the installation area, mark the installation position of the fender and the position of the fixing points. Use a level and tape measure to ensure the accuracy and symmetry of the markings.
2. Drilling
Drill holes on the installation surface according to the marked position. The diameter and depth of the borehole should match the specifications of the fixing bolts. When drilling, attention should be paid to avoiding damage to the foundation structure and ensuring that the hole position is vertical.
3. Install fixing bolts
Insert the fixing bolt into the borehole and use washers and nuts for preliminary fixation. The length of the bolt should ensure that it can firmly fix the fender, while avoiding being too long or too short.
4. Lifting the fender
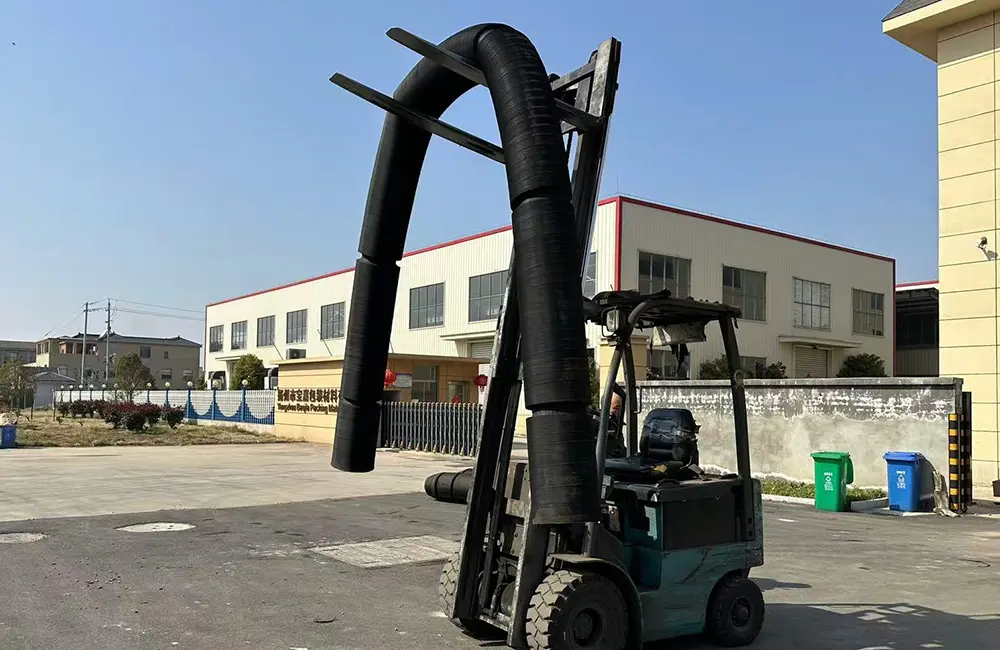
Use lifting equipment to transport the rubber fender to the installation location. During lifting, attention should be paid to the balance of the fenders to avoid collision or damage. Slowly place the fender on the installation surface, ensuring it aligns with the marked position.
5. Fixed fenders
Align the installation holes of the fender with the fixing bolts and secure them with washers and nuts. When fixing, gradually tighten the nut to ensure a tight fit between the fender and the installation surface, while avoiding excessive tightening that may cause deformation of the fender.
6. Adjustment and correction
Use a spirit level and tape measure to check the installation position and levelness of the fender, and adjust it if necessary. Ensure that the installation position of the fender is accurate and level overall.
7. Secondary fastening
After initial fixation, tighten the nut again to ensure that the fender is firmly and reliably fixed. When tightening, a torque wrench should be used to apply the appropriate torque according to the design requirements.
Inspection and acceptance after installation
1. Appearance inspection
Check the surface of the fender for scratches, cracks, or other damages, and confirm whether the fender is tightly attached to the installation surface.
2. Fixed inspection
Check whether the fixing bolts, washers, and nuts are installed properly to ensure no looseness or omission.
3. Functional testing
If conditions permit, conduct functional tests on fenders, such as simulating the impact force during ship berthing, checking the cushioning effect of fenders and the stability of fixed structures.
4. Recording and acceptance
After installation, record key data during the installation process, such as the specifications of the fender, installation position, fixing torque, etc. Acceptance shall be conducted by relevant personnel to confirm that the installation quality meets the design requirements.
Installation precautions
1. Safety
During the installation process, it is necessary to strictly follow the safety operating procedures, especially during lifting and drilling, to avoid accidents.
2. Environmental factors
Environmental factors such as temperature, humidity, and wind speed need to be considered during installation. Avoid installation under extreme weather conditions to avoid affecting the performance and installation quality of the fender.
3. Fender protection
During installation, it is necessary to protect the fender to avoid collisions, scratches, or contact with corrosive substances.
4. Regular maintenance
After installation, it is necessary to regularly inspect and maintain the fender, promptly identify and address potential issues, and extend the service life of the fender.
Summary
The installation of rubber fenders is a systematic process that requires strict adherence to design requirements and construction specifications. Through sufficient preparation work, meticulous installation steps, and strict inspection and acceptance, the installation quality of the protective rail can be ensured, providing reliable protection for facilities such as docks and ships. At the same time, safety management and post installation maintenance are also important links that cannot be ignored and need to be given sufficient attention.